Saturday, June 29, 2013

Distressed shades of grey with stencil, stain and paint

This piece may look familiar. I have done a mayching one, but in a nude green with gold handles.... Thank you good will.

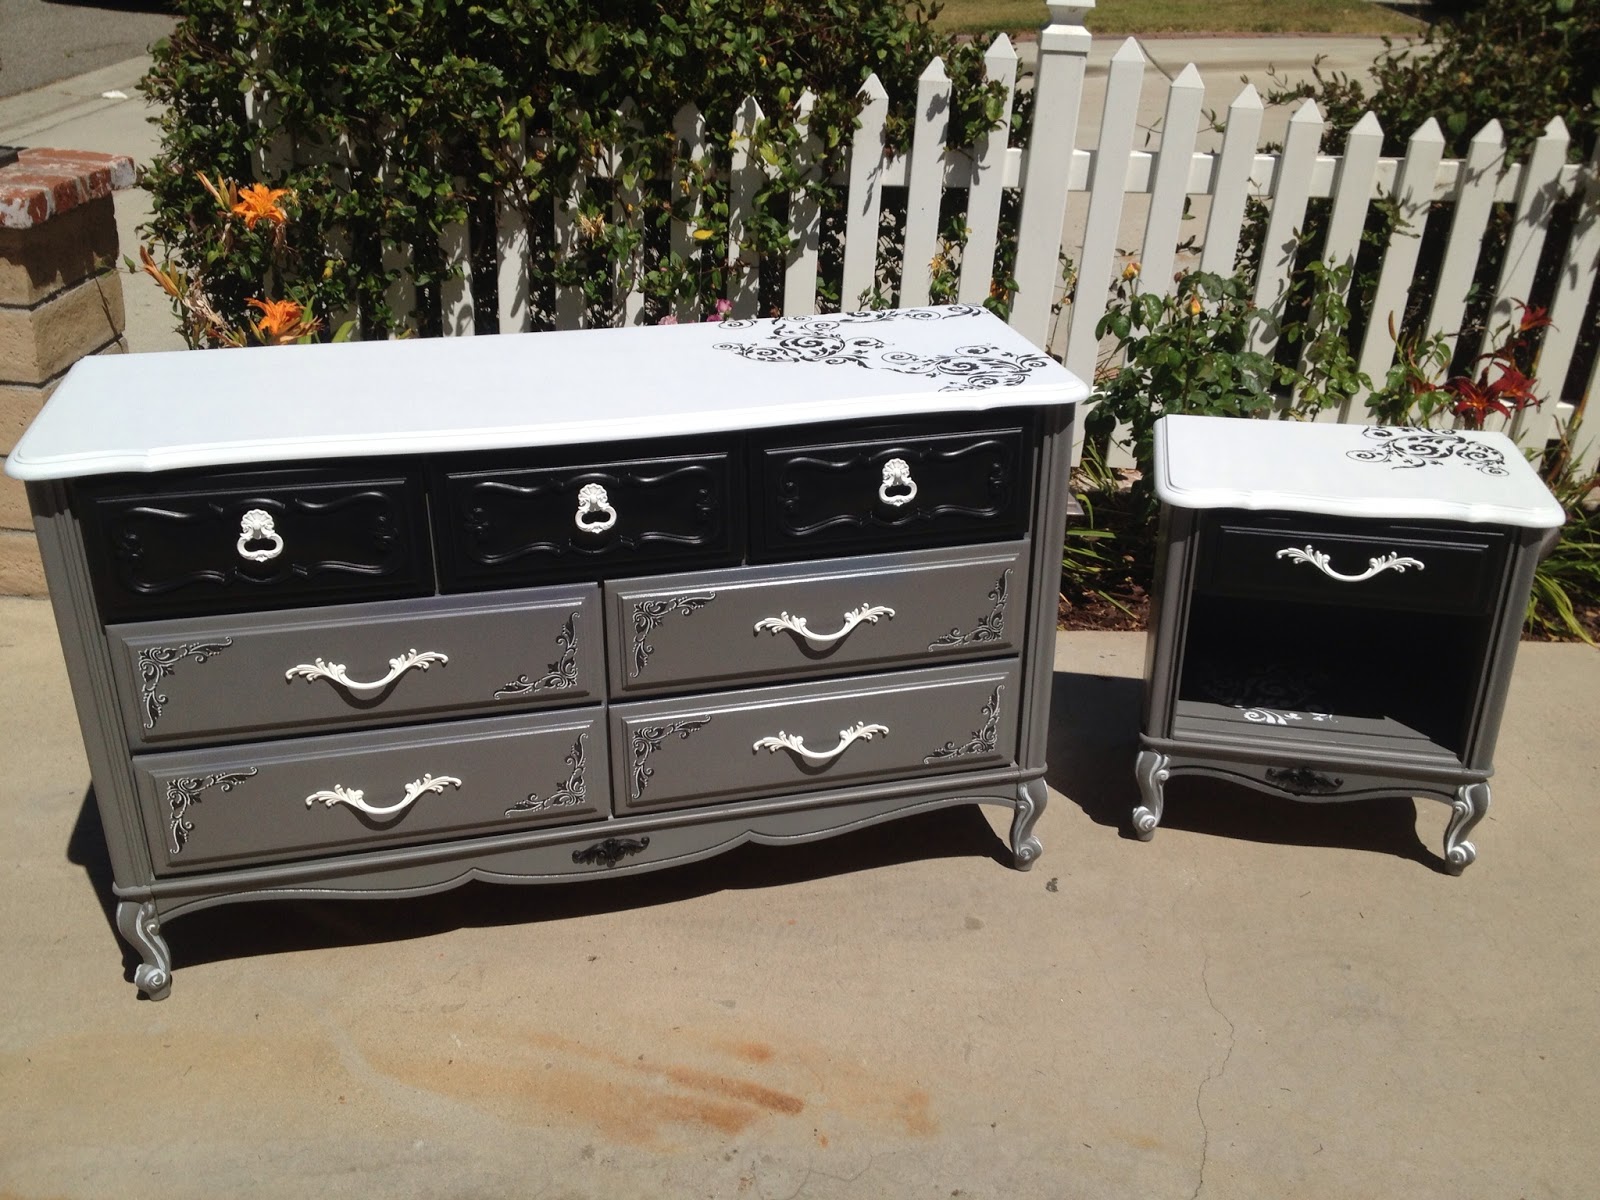
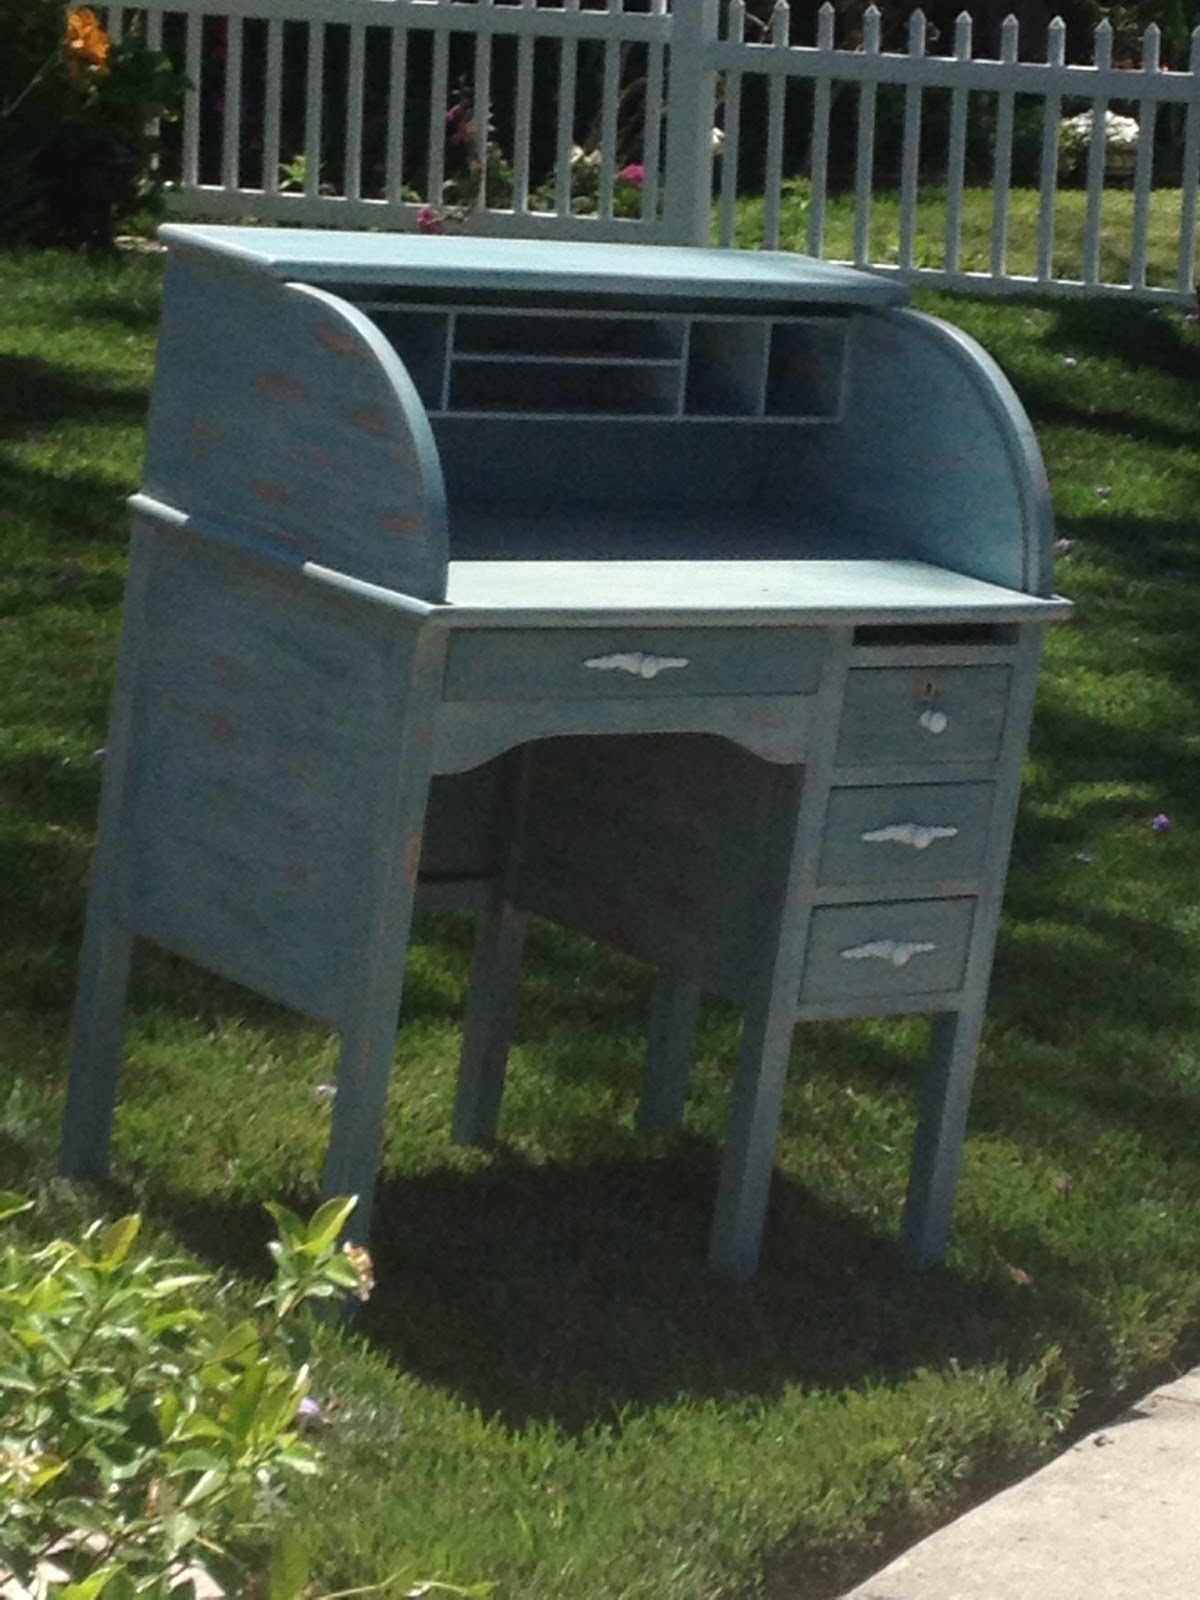
...here is the new version 

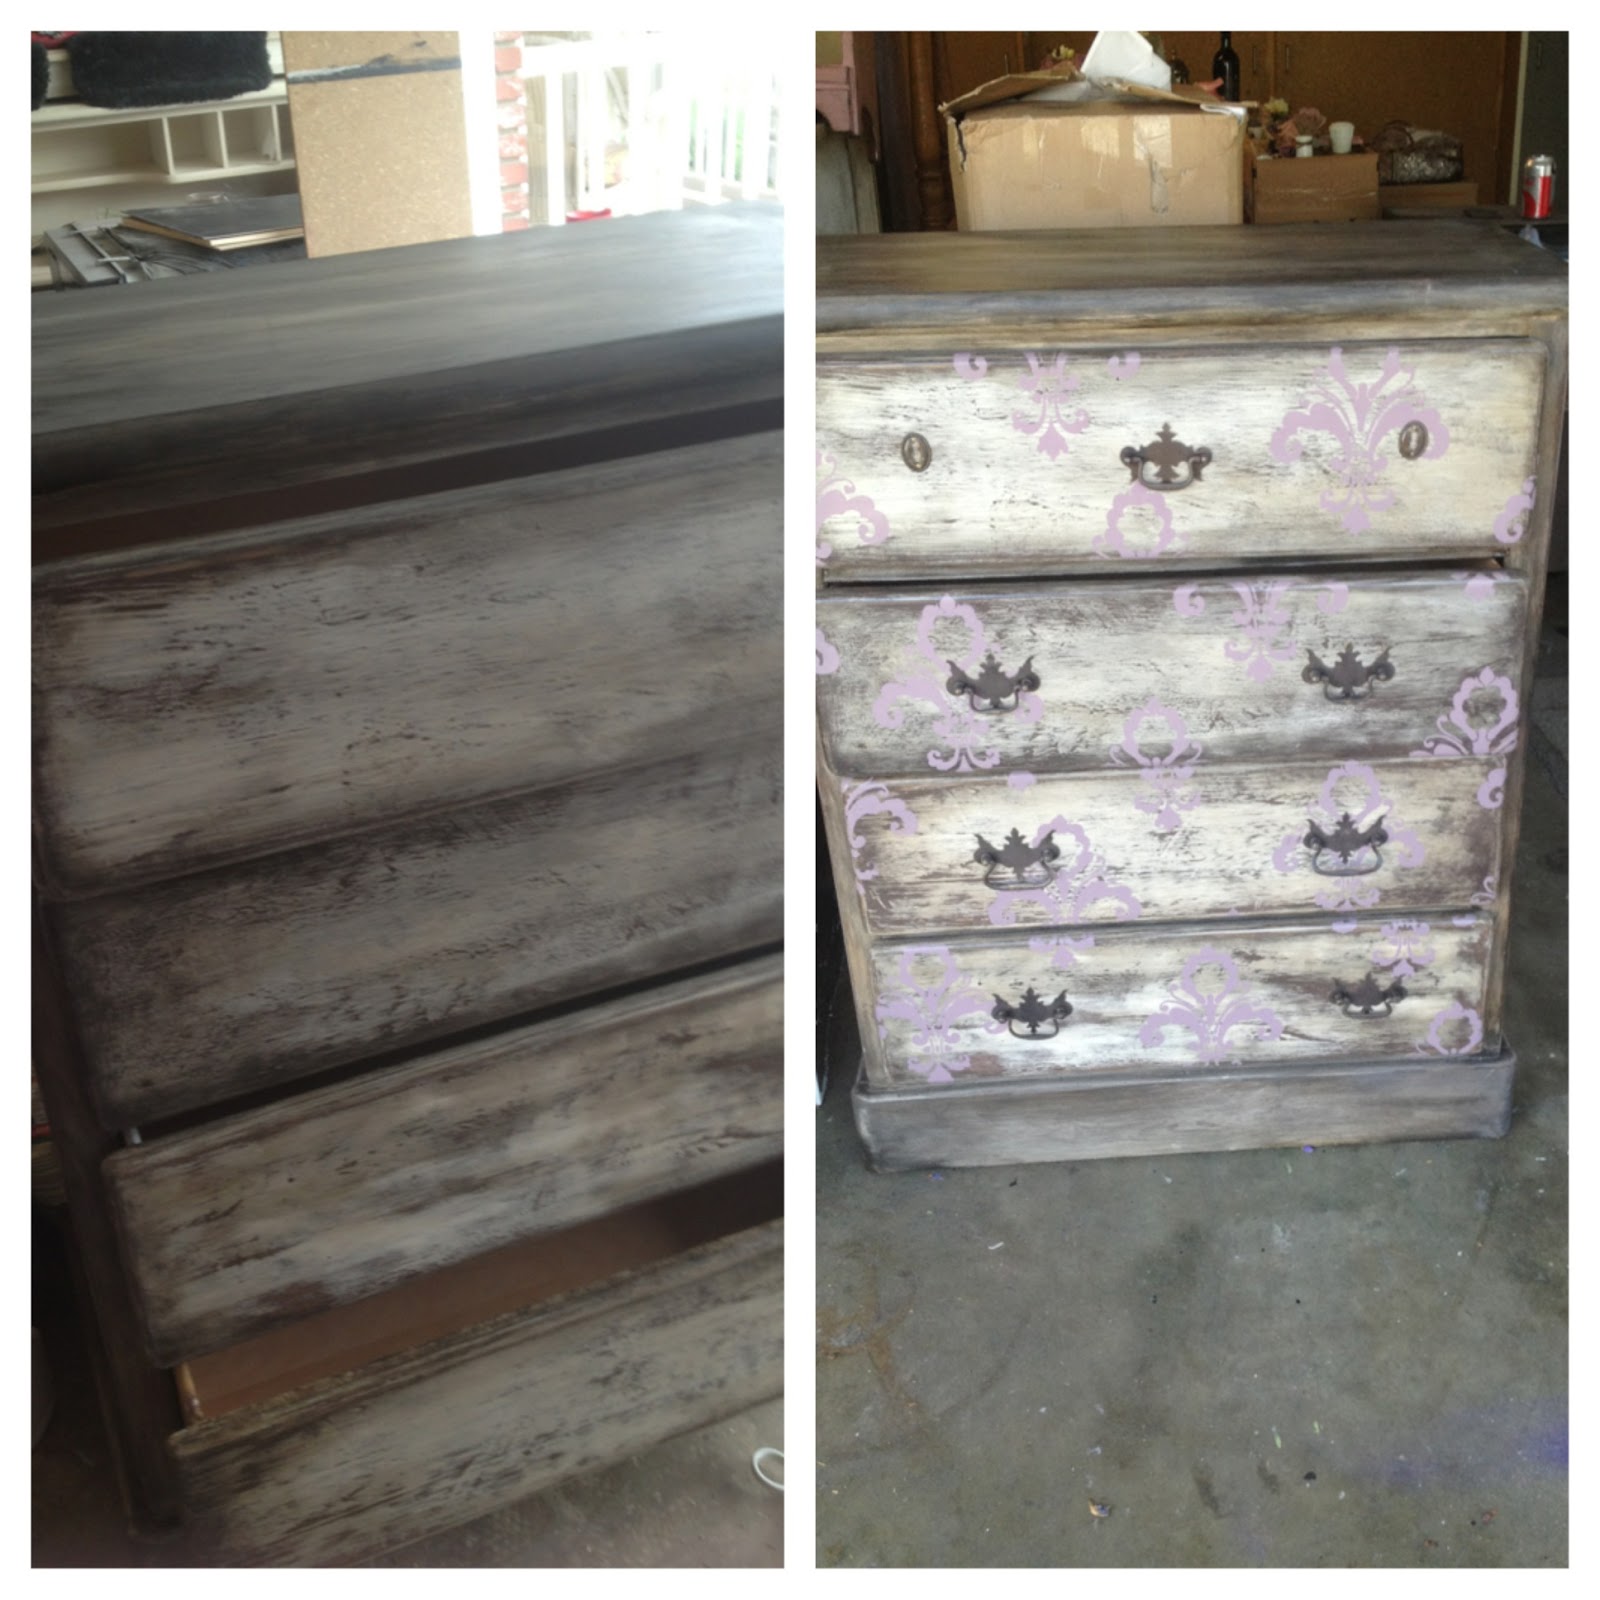
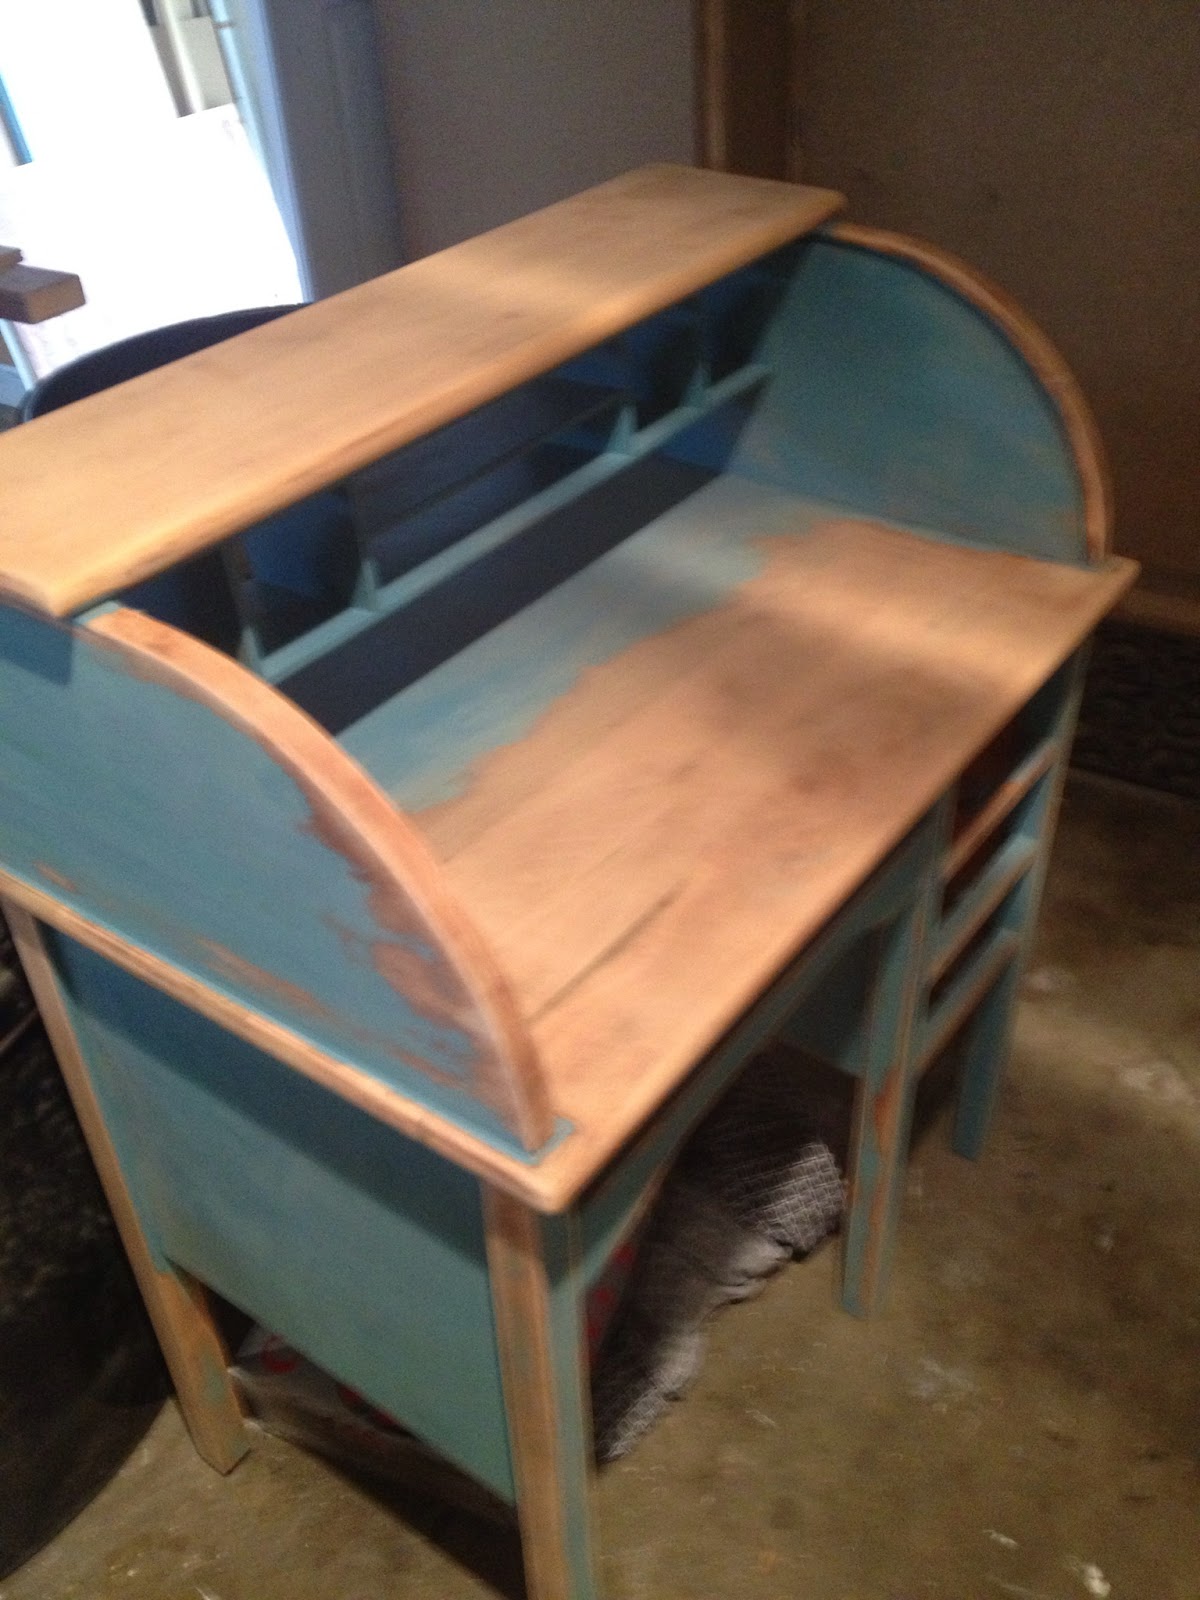
Anyway, this little dresser side table would have taken so long if I didn't have to sand the painted and stained drawers off again! Lol.  I tried out a new stain, which was astain and poly in one...figured it would skip me the poly finishing step. Well the problem is, it doesn't work like a stain...it works like a poly.  Which means you don't whip it off so it was turning the whole thing black.  

Anyway its a good thing I just tried it out on the drawers first, because it was pain to sand off. 
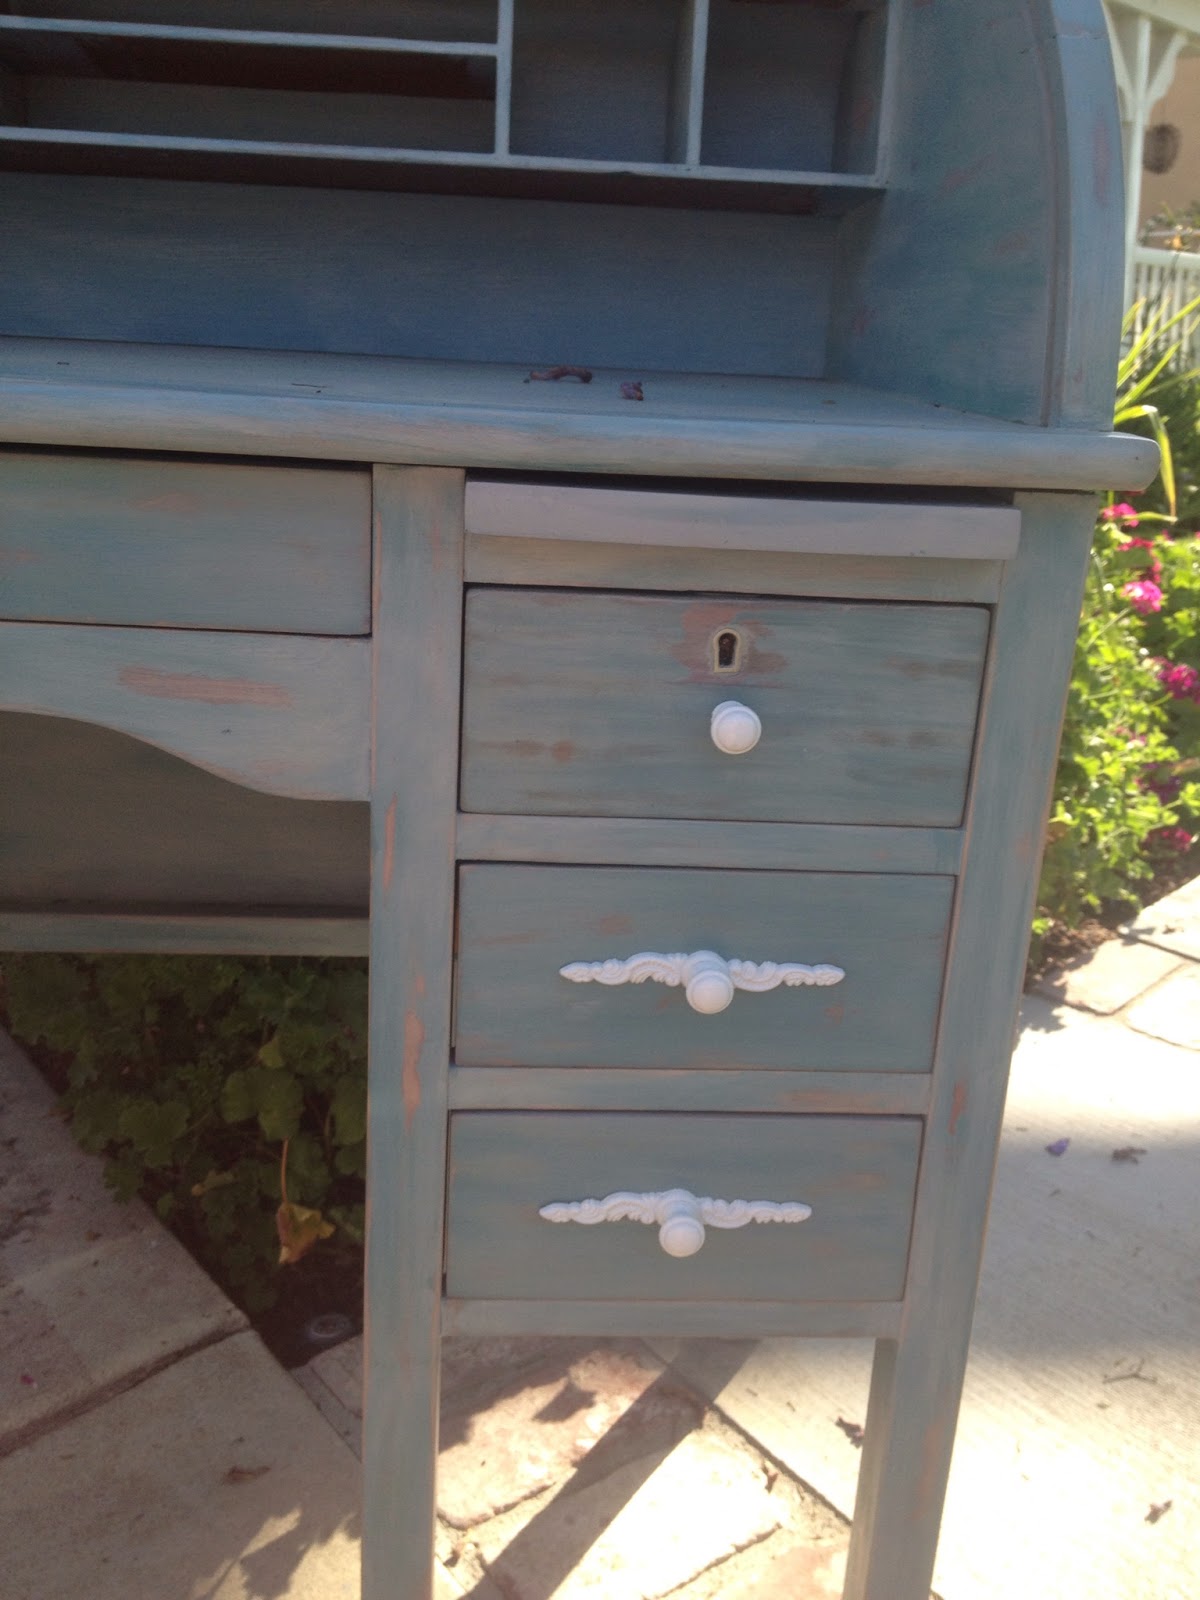
After painted it again in this light grey....I was going for Annie sloans(way too expensive) French grey.  I think it came out the right color.


After distressing and adding the stain it darkened quitea bit. I was thinking about using the grey or white stain, but I haven't had much luck with those and the brown steak didn't do anything to he wood showing through it just changed the color of the paint.....so I went with black and just wiped it away real fast.


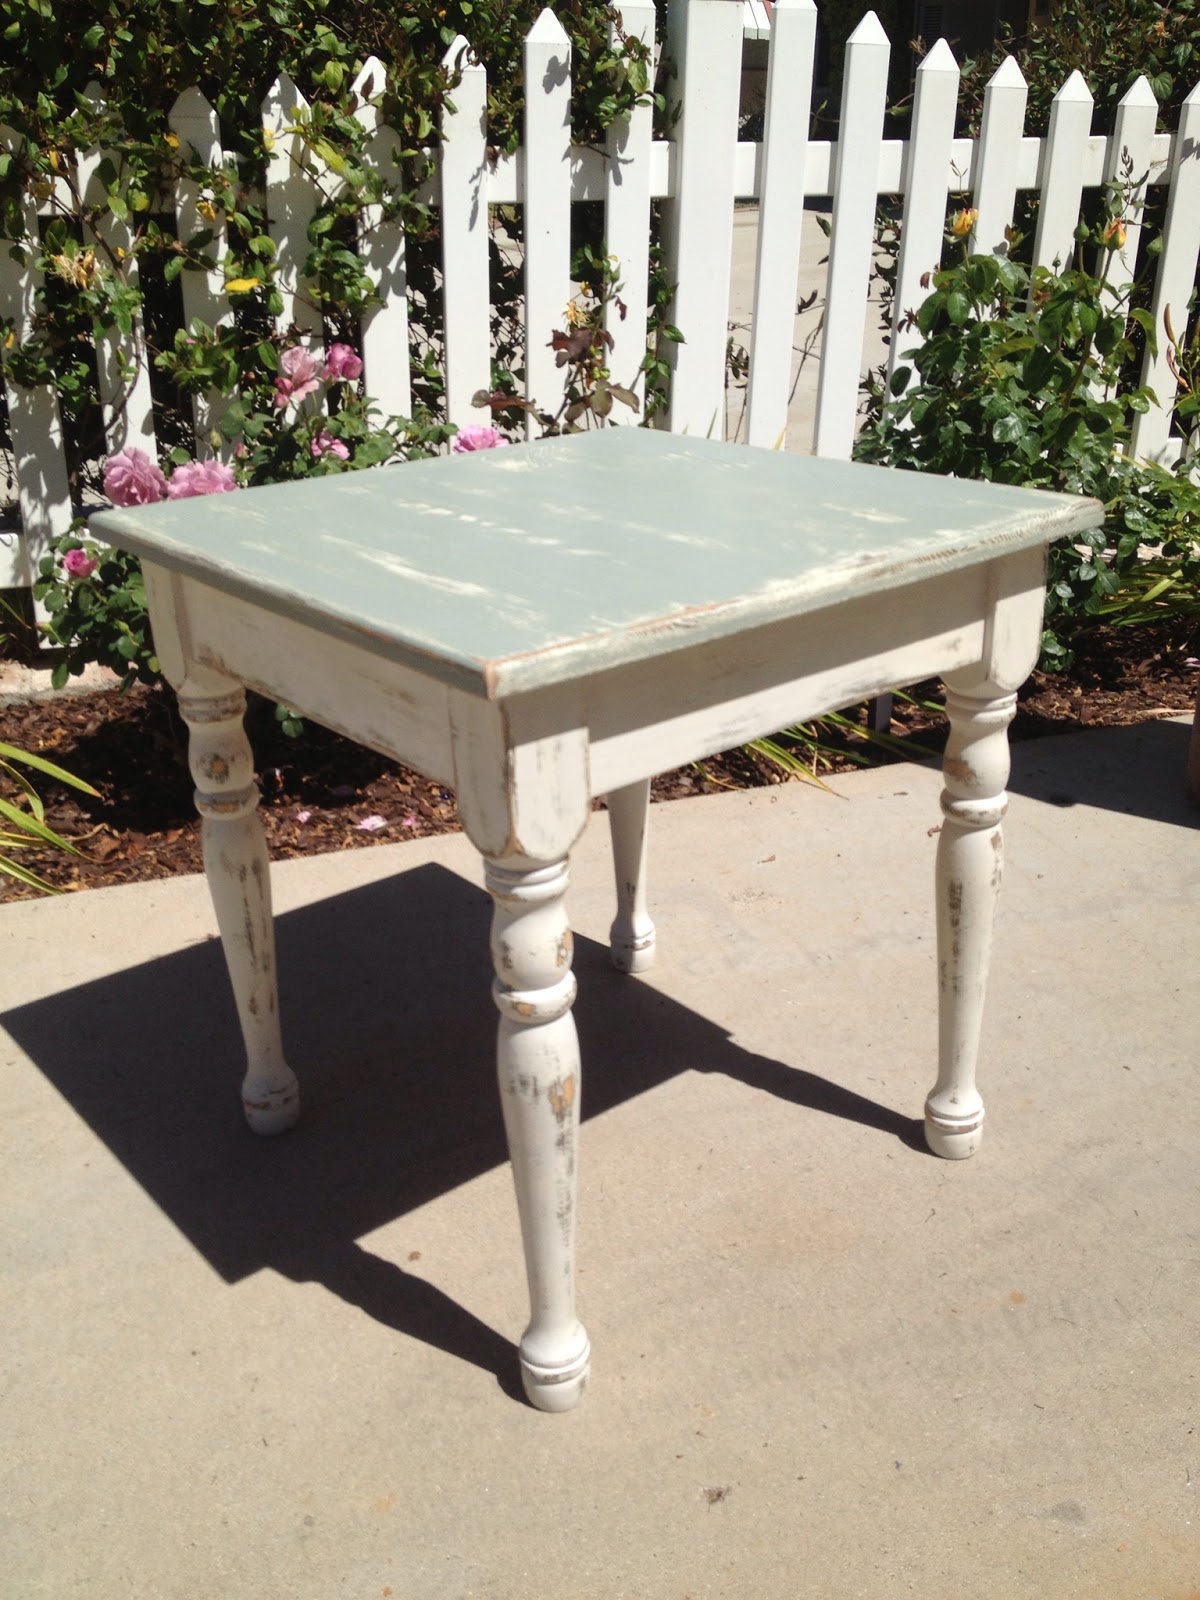
....here is the first version.


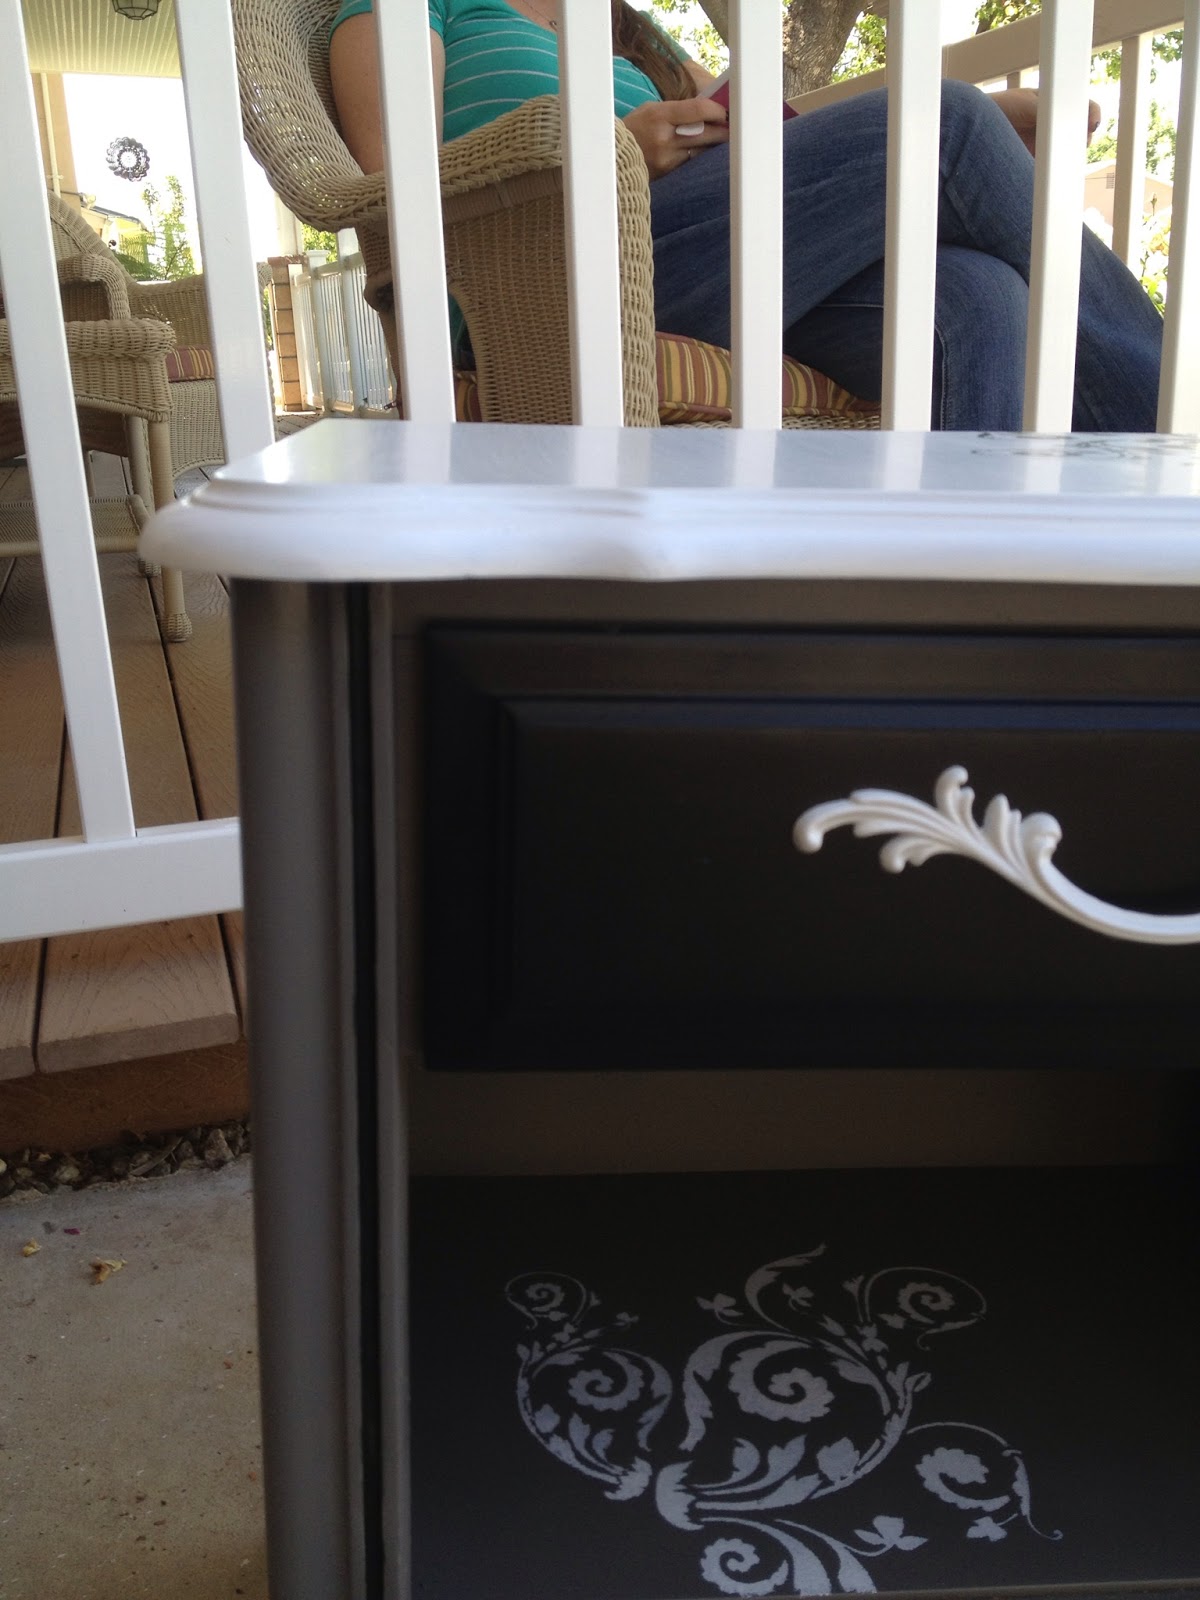
I also went ahead and painted the handles black to make them pop and added a damask stencil on top.  I feel like stencils can really change up a piece and make it very unique. Also I painted all the insides of the drawers to really give it that finished look. 

Well after waxing and lightly sanding.....which by the way I have read up on and if you really want to get that smooth finish you need to wax sand, very very lightly with 150-220 grit sand paper and wax again. Possibly 3 times, which I did.


 Dresser/side table/nightstand....can you tell I don't know what to call it is available on etsy or just contact me or my partner Casey directly. 
Roguerosereproduction@gmail.com
My number is 805-551-5754
Casey 805-657-0907

Thanks everyone...let me know what you think. 
Pin It!

Friday, June 28, 2013

Distressed black and white antique desk makeover

Finally done....I say finally, because the curved drawers on this thing where a pain in the butt to distress and I'm guessing a pain to sand in the first place even though Matt and Casey took care off that part.
Here's a pic of the drawers all sanded nice and clean.  And the only thing I have as a before shot. I really have to get better at remembering to take those.  


It also didn't help that I had to paint two coats of black and two coats of white, which I didn't paint all at the same time because I kept changing my mind...of course

There was parts that were all black that just didn't look right and I really didn't like the way the drawers looked like with the key paper.

I also put on three layers of this polyurethane clear coating and looked up the proper way to do it to make sure that nothing happens to it. You have to do very thin coats over and over and over again.  Plus lightly sanding after waiting the four hours in between. That's why I usually am working on more than one project at a time....I am trying to limit myself to 3 at a time so I don't go all crazy, but its hard not to be crazy when you are a "bit" crazy lol.
The finished product is great. I'm a bit obsessed with stencils right now so I almost added one to the top but I refrained....they are on the next one I get to show you, which is coming very soon.....if I didn't keep messing up like putting stencils on upside down :/ oops but it looks like its goons be good!


Pin It!

Saturday, June 22, 2013

New tall thin dresser using spray paint and stencils

This was originally brown... The fake wood look, but my spray painted it black a long time ago, which was cool because I didn't have to spray it black, but this one I was gonna tape the drawers off all nice so I didn't have to mess with the inside of the drawers. So there is a little spray here and there inside the drawers,but I didn't want to spray them since I think they would get stuck pulling them in and out.

Anyway this is it all done.
I sprayed the drawers white and then stenciled a flourish stencil....my favorites stencil so far since ice used it on 3 pieces in the last couple weeks lol.

Then I clear coated it in a matte spray paint...didn't want it too shinny. And there you go. 


Also there is a mirror with jewelry storage at the top :)

Available on etsy.comp/shop/cahleyscouture 
$129
Or just email me at RogueRoseReproduction@gmail.com
Pin It!

Friday, June 21, 2013

Small distressed blue and cream end table with wax coating

This was just a quick little project I did to kinda test out some methods and paint colors.  I have been trying to find a creamy beige that isn't too yellow or turn yellow when stain is added. 

So for this piece I painted the bottom in a country white, white was still to white so I added about an 1/8th of a cup of some medium brown.... Which took forever to mix since the paint can was so full lol 


I also initially painted the whole thing a medium brown. I find you get a better transition from the natural wood to the painted color when you paint brown first 


For the top and parts of the bottom I just took a power sander to it. It wasn't the best idea, because the sand paper I was using had a strong grit, but I went other it with 120 and then did some hand sanding 

After that it was waxing time I put extra wax in the really distressed rough areas, and the result was smooth as a baby's booty. 

This is available on etsy.com/cahleyscouture for 64.00
Pin It!

Thursday, June 20, 2013

Black white and grey bright clean and beautiful!

So first off I have redone this dresser I think a total of three times, because I just didn't like it. I don't have a before pic, but it was that pls beige with the gold trim dresser nightstand set then I painted it grey with white accents. 
Here's it grey and then when I tried to do the dresser with the crisp white like that I just thought it looked messy, but everyone else liked it. Didn't matter though because I could see every flaw and it was driving me mad! 

So here it is now. I' added some black drawers painted the top white and stencils. As well as a few other details to pull all the colors together. 
I love it now. My husband doesn't, but what do you guys think? 

I at first did a white stencil and then added the black on top of it to tie it in with the black drawers above it. 


Both are available on my etsy page. Etsy.com/shop/cahleyscouture
Pin It!

Monday, June 17, 2013

Some of the before and afters

Distressed newspaper themed side table, storage area
on esty.com/cahleycouture for $275 

Brightly colored slightly distressed and stenciled with white flourish and mermaid stencil 
Selling on Etsy for $249

white washed beautiful blues and white writers desk 
selling on etsy for $279

Shabby chic pinky vintage dresser. 
Sold for $275 

Distressed with colors of browns and beiges, stencils with a purplish flour de lies and antique drawer pulls added along with key holes. 
Selling on etsy for $325

Distressed black and white clock table 
Selling on Etsy for $299 

Distressed pinky desk, SOLD for $275 

Pin It!

Blue distressed and white washed/stained smaller writers desk

This piece was quite the pain in the butt!  I tried to use some of the homemade chalk paint in teal that I had made for another piece, but if you leave chalk paint sitting you have to make sure you stir it up like you did the first time with the electric drill.  So when I painted it the first time without sanding and went to go and distress it, all the paint just started to peel off so I decided to sand it all again and start over.  The picture of the sanding it over again is down at the bottom.  
Anyway it came out pretty good.  I need to get better at taking pictures of the in between stages, because all I have to show you is the final product which came out pretty good, but completely different than the color that I was going for.  

At first this piece was a bright teal blue with the brownish red distressing showing through.  I needed to mute it down, so I took some white stain and let it sit for quite a while.  And also since it was chalk paint that I was using the stain stuck ALOT! 

It was hard doing the stain with it sticking so much trying not to get it to leave marks are all look together.  But in the end with a lot of wiping off it worked out.

The handles were a very dirty bronze, so I spray painted those white to really bring them out.  

This is me trying to take a pretty picture of it, but I forgot to put the little pull out piece that goes above the small drawers, but it still looks pretty :)


and heres the kinda before....after the first painting that was all coming off anf before I painted it again.  
Available on Etsy.com/shop/cahleyscouture for $249 
Or just email me 
Thanks, Cahley 

Pin It!

Friday, June 14, 2013

Other project in the works...black and white distressed clock table

So I got this table in just plain wood. I painted it green first and then changed my mind so of course I had to get out the paint stripper and work away at the green. Luckily it was just on the top, but it was still a pain in the but to get off.

Here's in between...distressing away burning my fingers :( but the finish product was way worth it. After distressing and Casey my new partner in furniture crime did the distressing on the bottom half. Then I stained while she wiped it off because we used black stain and I didn't want it to stick too much at all so we wiped it away right away. 


So pretty! And it went so quick with Casey's help :)
Pin It!